I’ve chosen to do an
origami frog because it is something fun, interesting and new to do for me. I’ve found
out how to make it with the following origami website. The instructions are easy to follow and it
turns out great. Try making one for yourself! Also I taught my sister how to make it and played around with our camera to take the pictures for this with the best lighting and angles possible. I followed the instructions closely as it was quite easy to understand and it turned out similar to the example shown on the website.
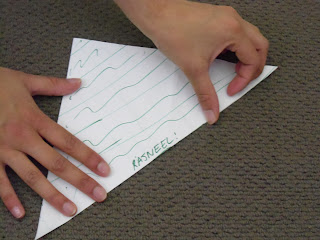
Start with a square
piece of paper

Fold corner to corner
and top to bottom

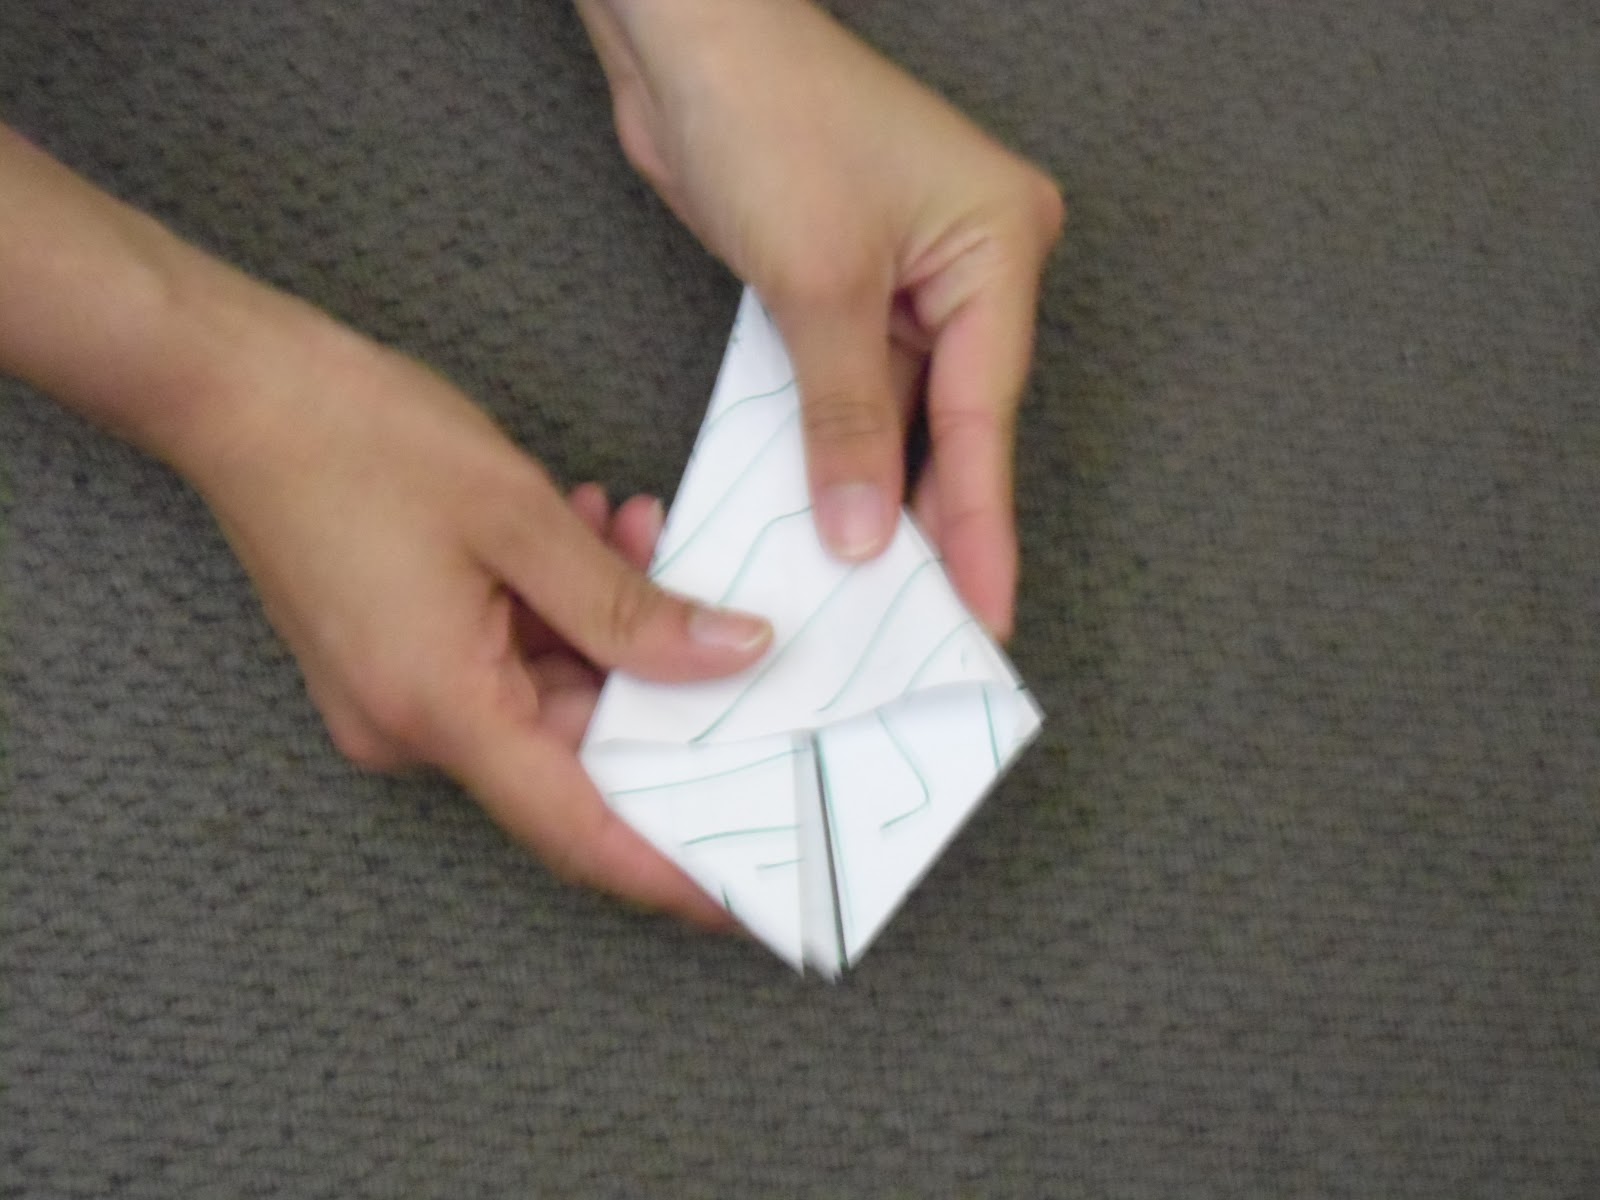
Pick one side of the
corner and fold it to the corner next to it


Do the same to the
other side

Crease paper


Next insert your
finger in one of the pockets


Move the pocket around
to the front, then flatten and crease it


Perform this move on
three pockets…until the paper is in a diamond shape.
Next fold and unfold
the corners as shown, to make crease marks

Next fold the paper
inwards to make a petal shape

Perform the petal
shape fold three more times on the other three faces

Fold the frog base
down the centreline

Then fold the lower
edges of one layer into the centreline

Now use reverse folds
to stretch the back legs

Fold the legs like
this

And arms like this


Now you’ll need to
blow where the frog’s bottom is, to inflate it.


You can make the frog
jump a short distance


Haha, nice green piece of paper!
ReplyDeleteGreat step by step photos and I like your finished frog :)
Well done.
Supp, nice!! Gotta do ur Wordle HMWRK b4 wednesday
ReplyDeleteCYa
Sup! Thx hope you do a good wordle toooooooooo!
Delete